With moll against the school cones monotony
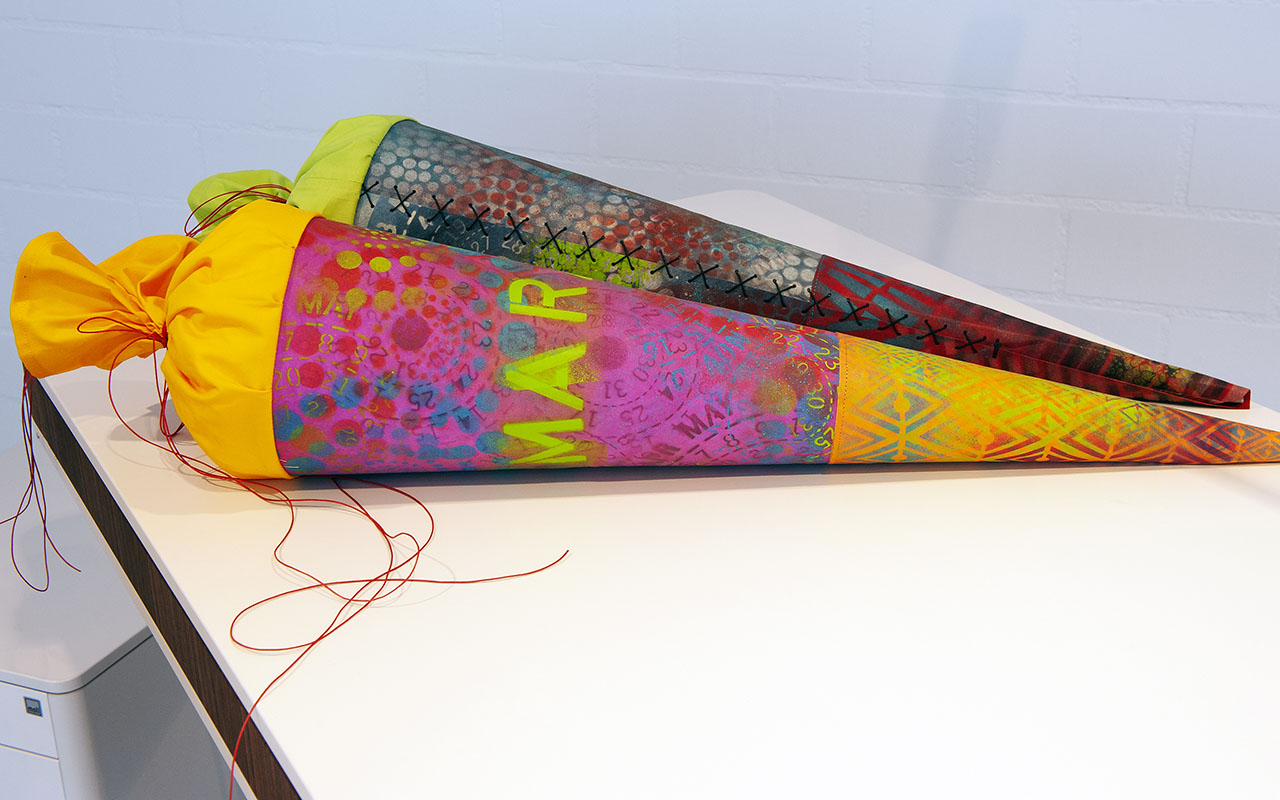
For about 150 years there has been the tradition of making individual school cones in Germany. Simply because it’s fun or as conscious action against mass consumption and machine-produced cheap grammar. Would you also like an individual school cone as a trend against the thousandfold same school cones?
The first day of school is one of the most important and exciting days for your child. An unforgettable school cone is part of it so that it will remain in your memory.
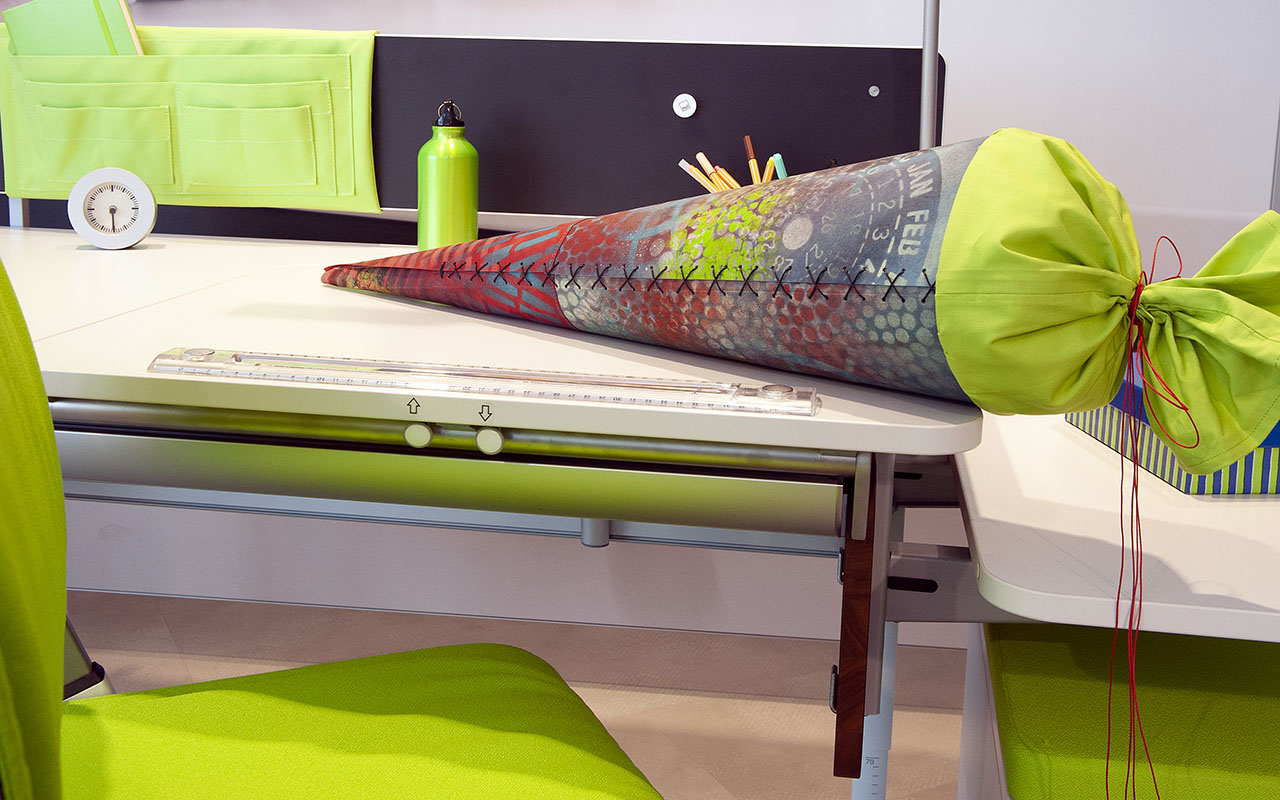
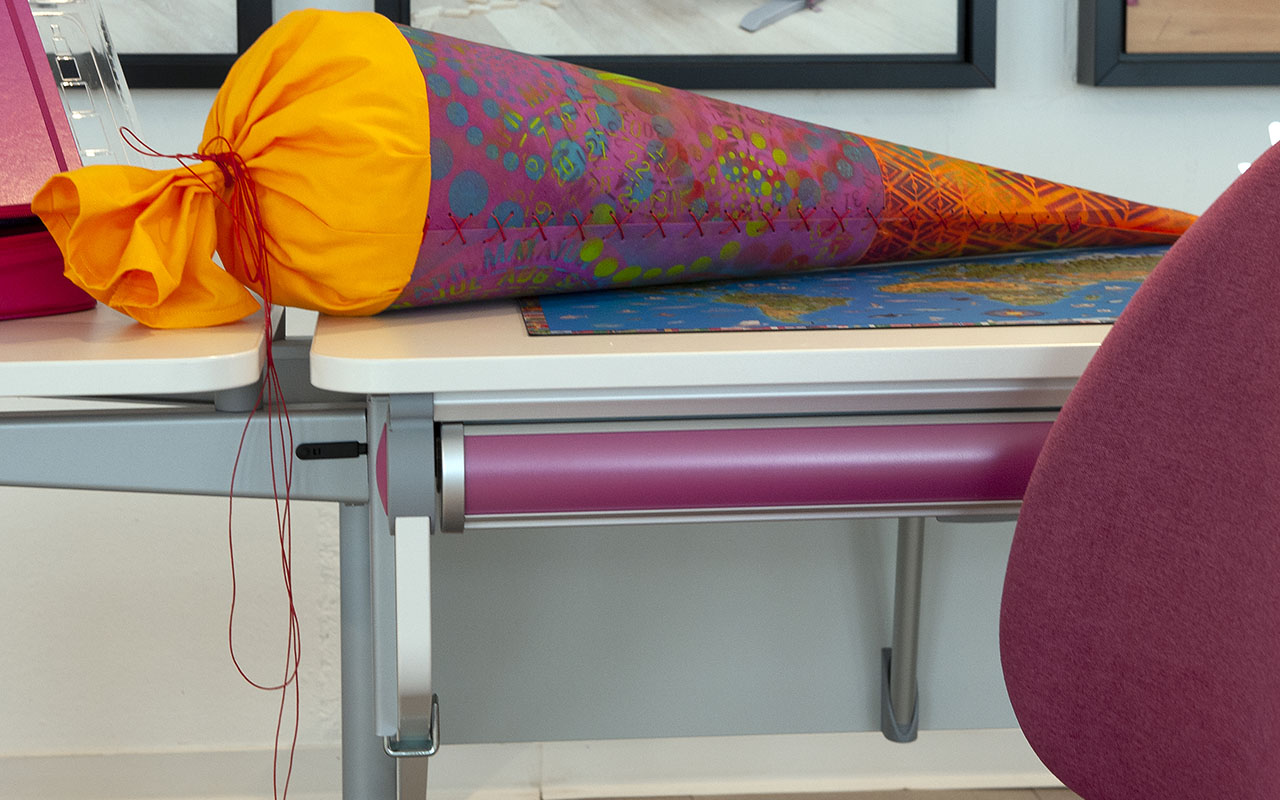
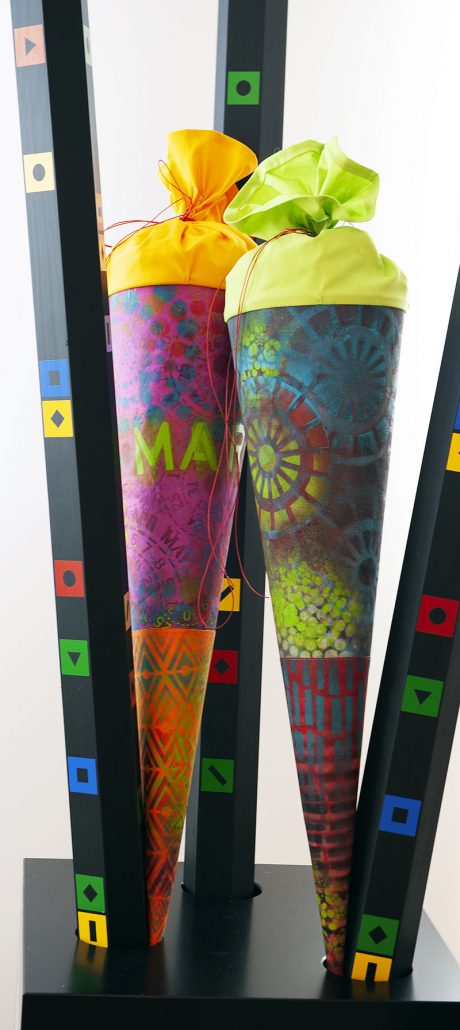
With a homemade school cone your child looks forward even happier to the start of his school career! And with the moll craft instructions for your individual school cone you make the first step to a successful 1st school day.
You can create a school cone out of the great material kulörtexx which no child else has. This material has a leather look, which makes it unique in its feel. You can find the handicraft instructions here on the moll page. You can also download the handicraft instructions for The School Cone as a pdf file here.
Material list/accessories:
1 cardboard school cone, height 70cm
1 sheet Kulörtexx 50cm x 70cm, colour 1 – buying source
1 sheet Kulörtexx 50cm x 50cm, colour 2 – buying source
double-sided adhesive tape, 5 mm wide
cotton fabric, plain, 60cm x 30cm
(alternatively crepe paper)
waxed cotton cord, Ø 1 mm acrylic spray
polyester thread
packing paper or foil
hole punch
darning needle
wonder clips
stencelling templates
measuring tape
sewing machine
ruler
pencil
packing paper or foil
Handicraft instructions for the moll School Cone
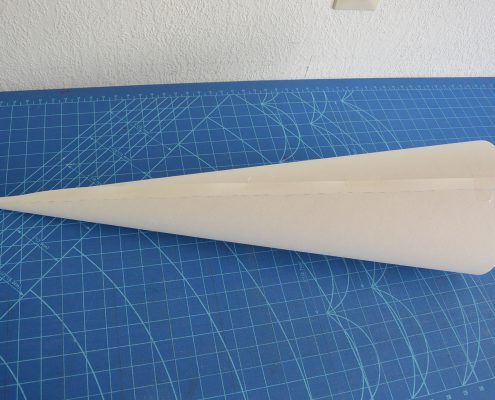
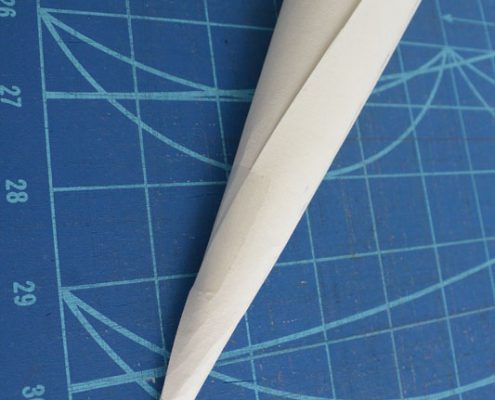
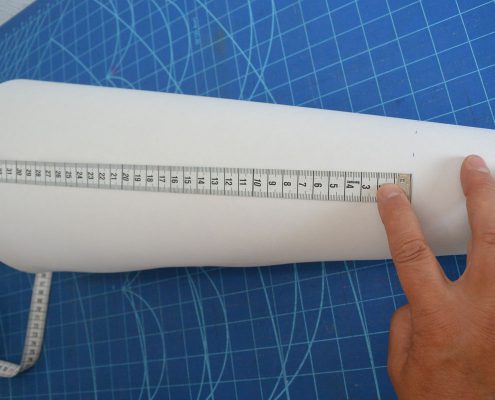
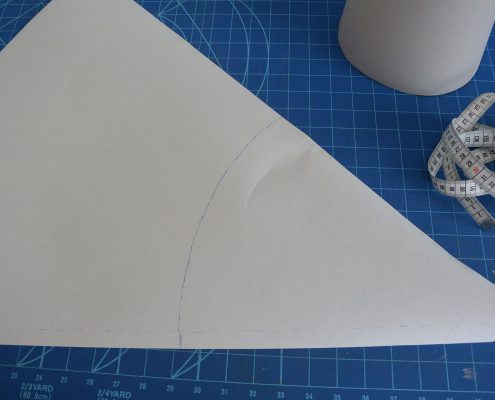
At the beginning the exact cut of the school cone is made with packing paper or foil. For this purpose, the paper is wrapped around the cardboard blank and measured and marked to fit exactly. The tip ends in a small circle.
Before cutting out the pattern template, add 1.5 cm “seam allowance” to either the right or left lateral edge (see dashed line).
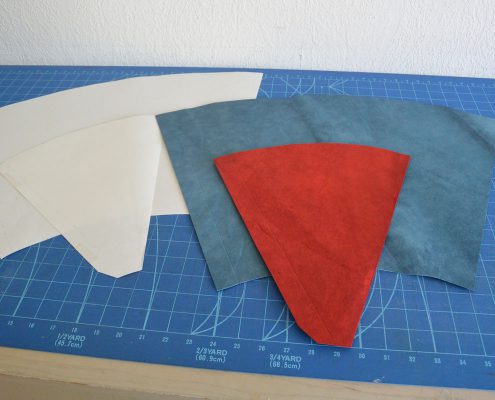
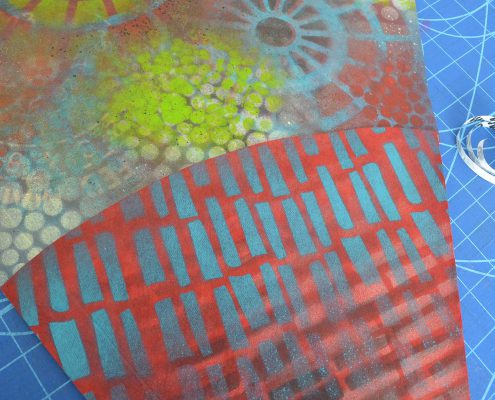
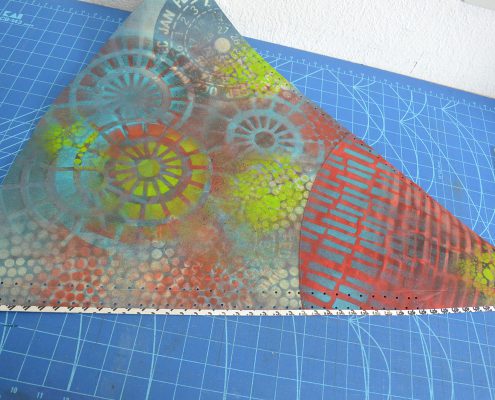
The pattern is divided into two sections so that it can be worked in two colours.
Measure 37 cm around the top edge of the cone with the tape measure and mark with small lines. The resulting rounding corresponds approximately to the rounding of the upper edge.
Both sheets of Kulörtexx are ironed flat, the right side (rough side) points upwards. The prepared paper patterns are also placed with the right side facing up on the two coloured Kulörtexx pieces. Then it is marked and cut out exactly.
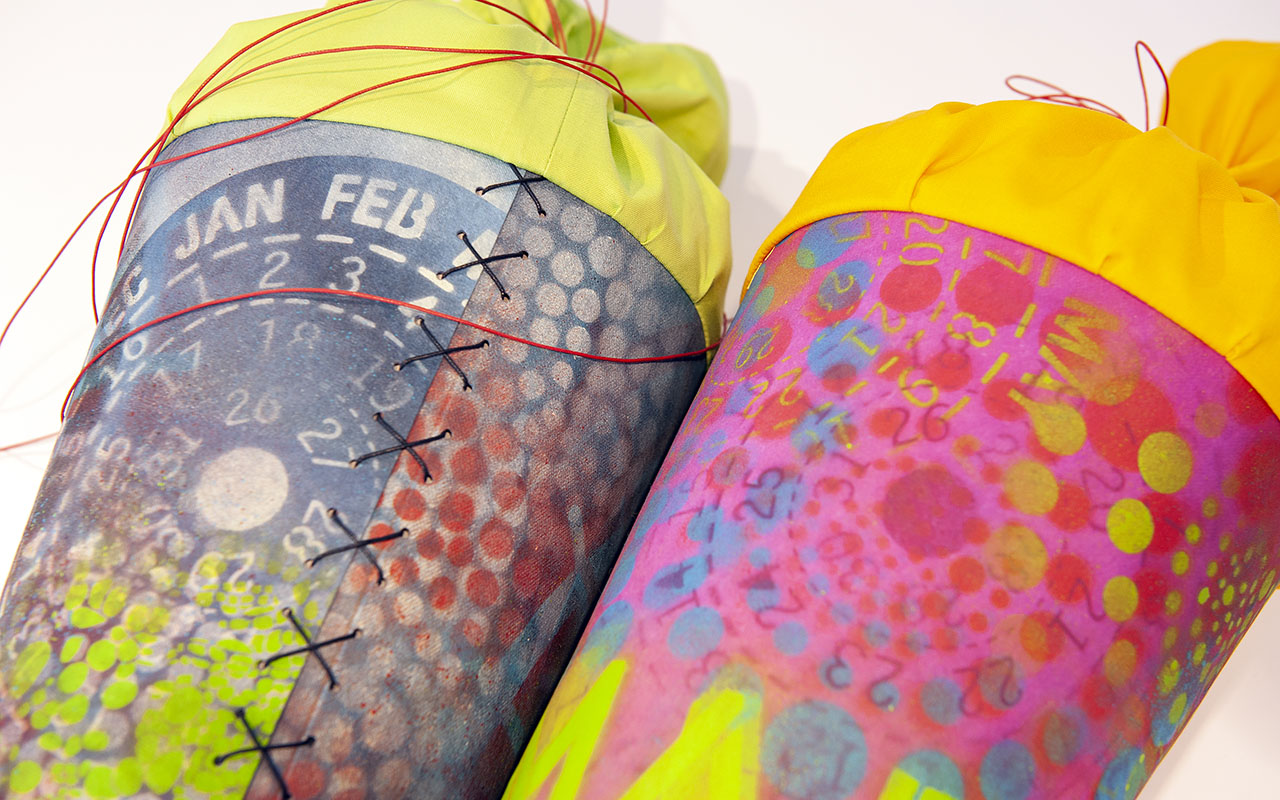
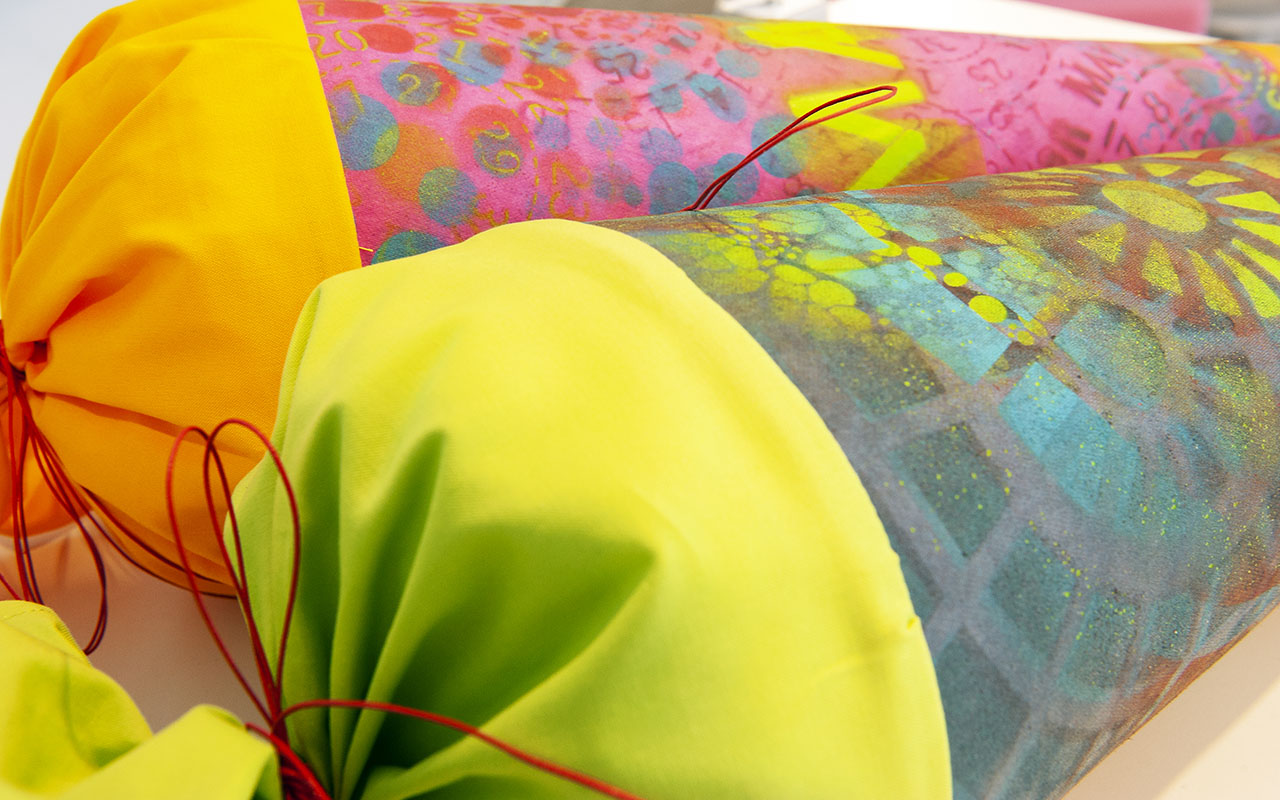
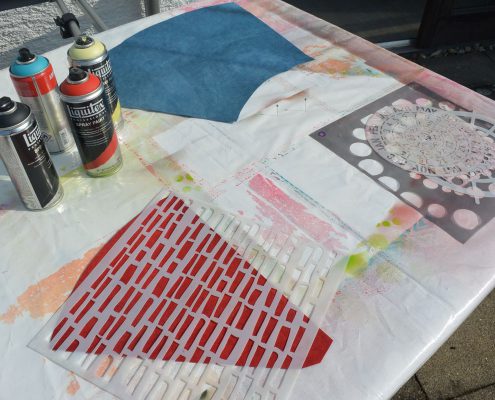
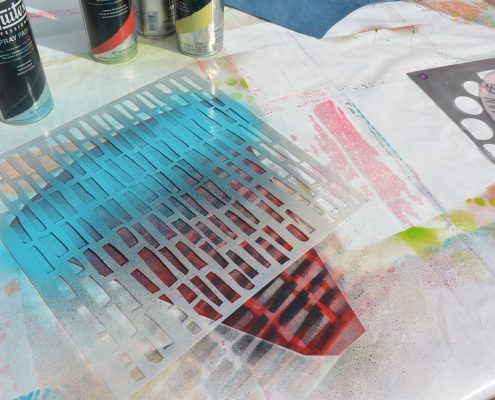
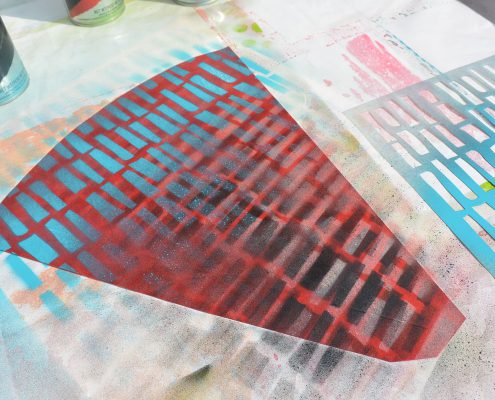
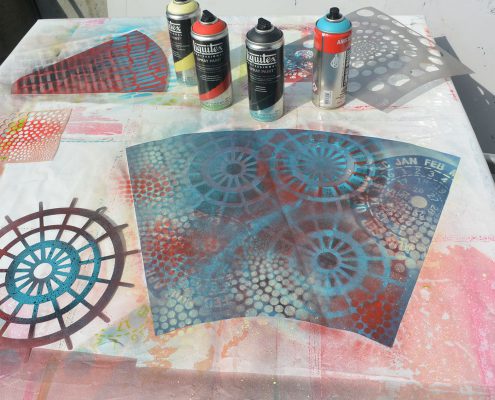
Now comes the moment to have a lot of fun! The acrylic sprays and the stencellings are placed on a sufficiently large work surface with both Kulörtexx blanks. Gradually the colored leather papers are redesigned with the spray technique.
Note: Please read the processing instructions for the respective acrylic sprays carefully before use.
After spraying, the stencils must be cleaned immediately under running water. The sprays are sprayed briefly over the head on paper and closed so that they do not dry out.
The sprayed school cone blanks made of Kulörtexx dry out completely before further processing.
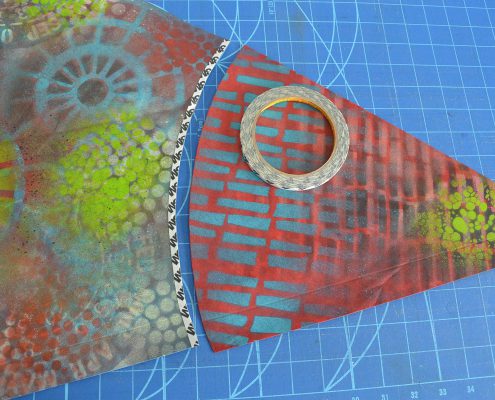
Now the upper and lower part of the school cone are assembled. It doesn’t matter which part overlaps.
However, the blank below is always provided with double-sided adhesive tape. Remove the foil from the adhesive tape, fit the two parts together exactly, if necessary, cut the edges back slightly.
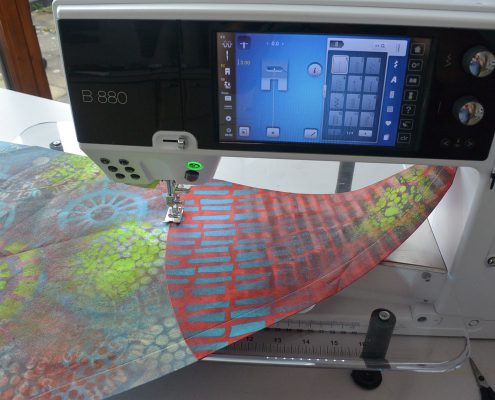
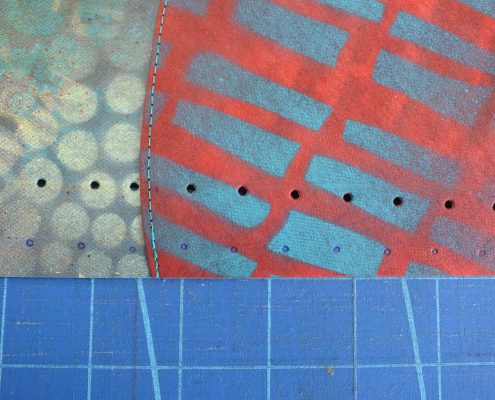
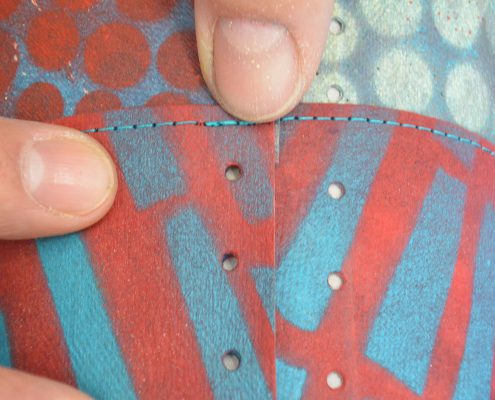
Both parts are then sewn together for better durability. The leather paper is ideally always processed with a 3 mm straight stitch and a good polyester yarn.
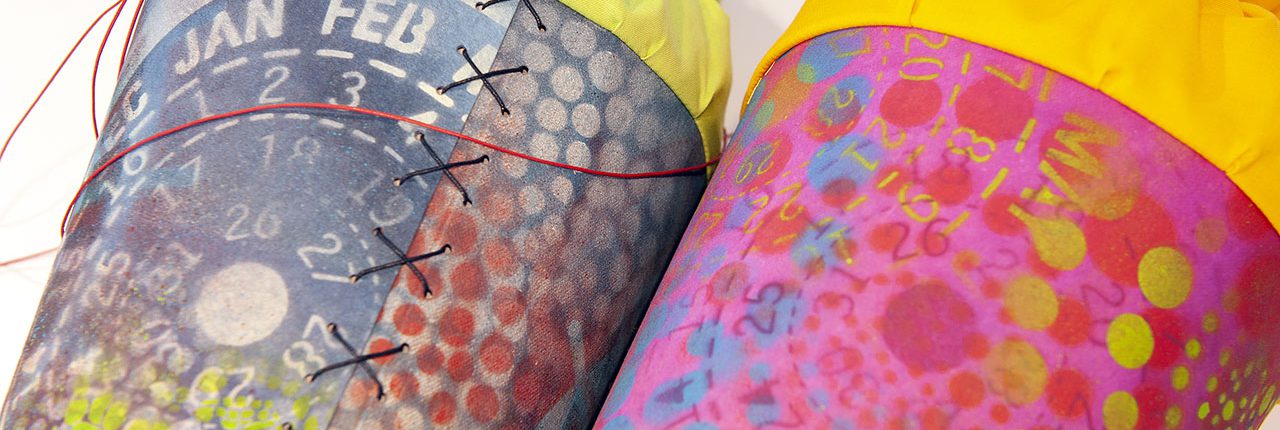
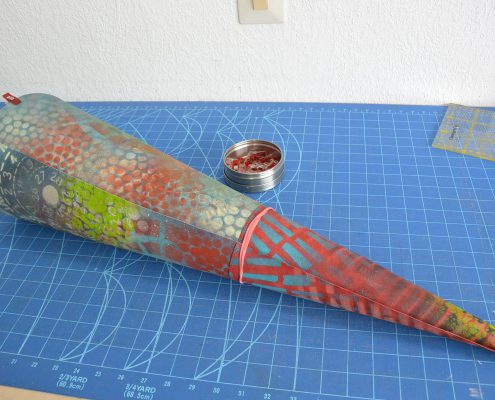
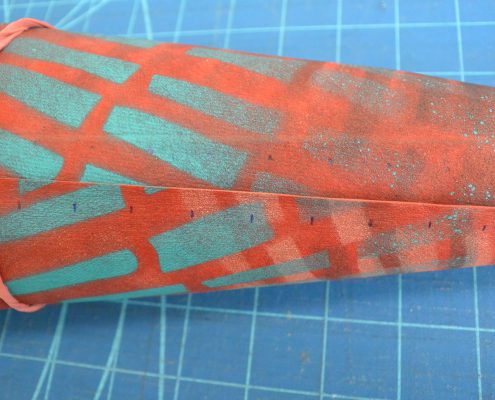
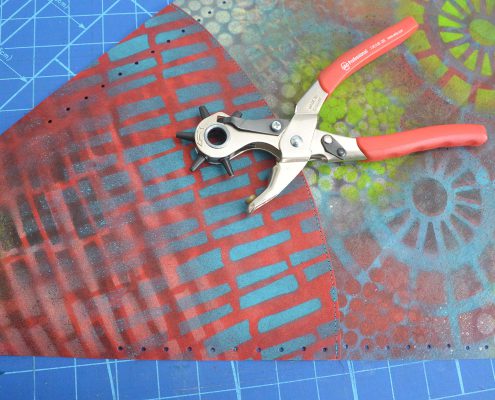
The finished outer cover is drawn over the cardboard blank. To hold it, a stable rubber band is wrapped around the middle and the upper edge is fastened with wonder clips. Markings are made for perforation. The distance to the longitudinal edge of the paper is 1 cm on each side, the distance from hole to hole is 1.5 cm on both sides.
Now the outer shell is unwound again and the first perforations on both sides are made.
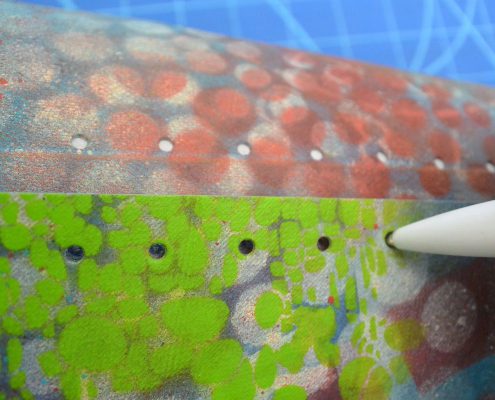
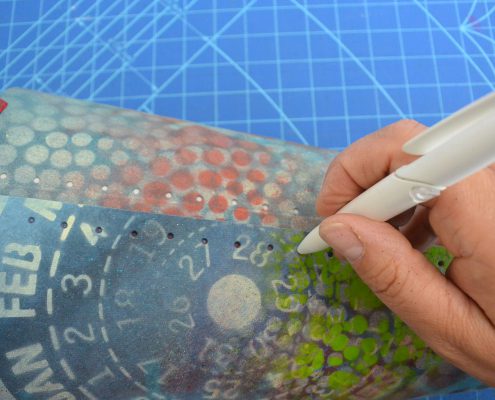
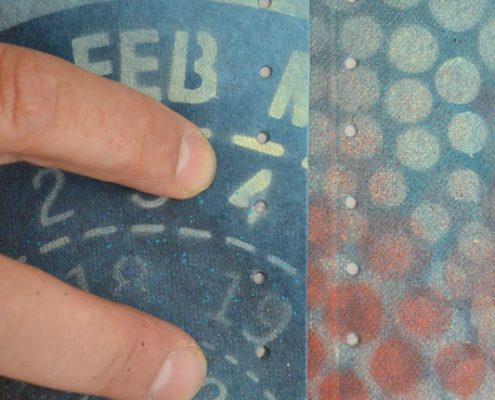
Afterwards, the outer cover must be pulled back onto the blank as precisely as before. Markings are applied to the “seam allowance” of the Kulörtexx through the existing holes on the overlapping paper side.
Ideally, the overlapping punched holes should lie exactly on top of each other when the outer cover is reattached to the cardboard blank.
If this has not become quite exact, they will fit into each other during subsequent sewing.
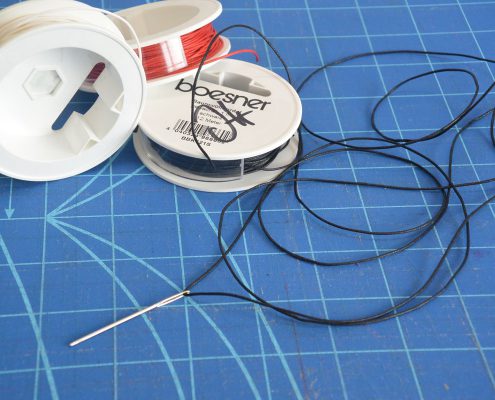
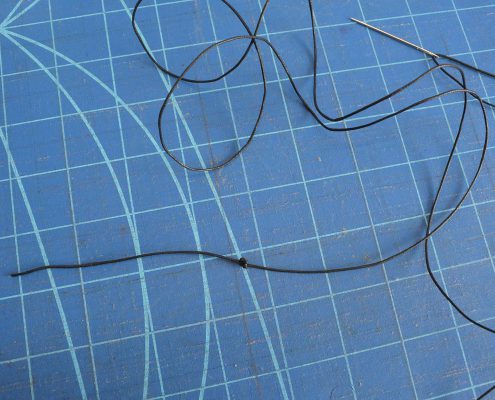
Cotton cord is unwound and the three and a half times the length of the perforation width is taken. The end of the cord measures approx. 10 cm and is provided with a double knot.
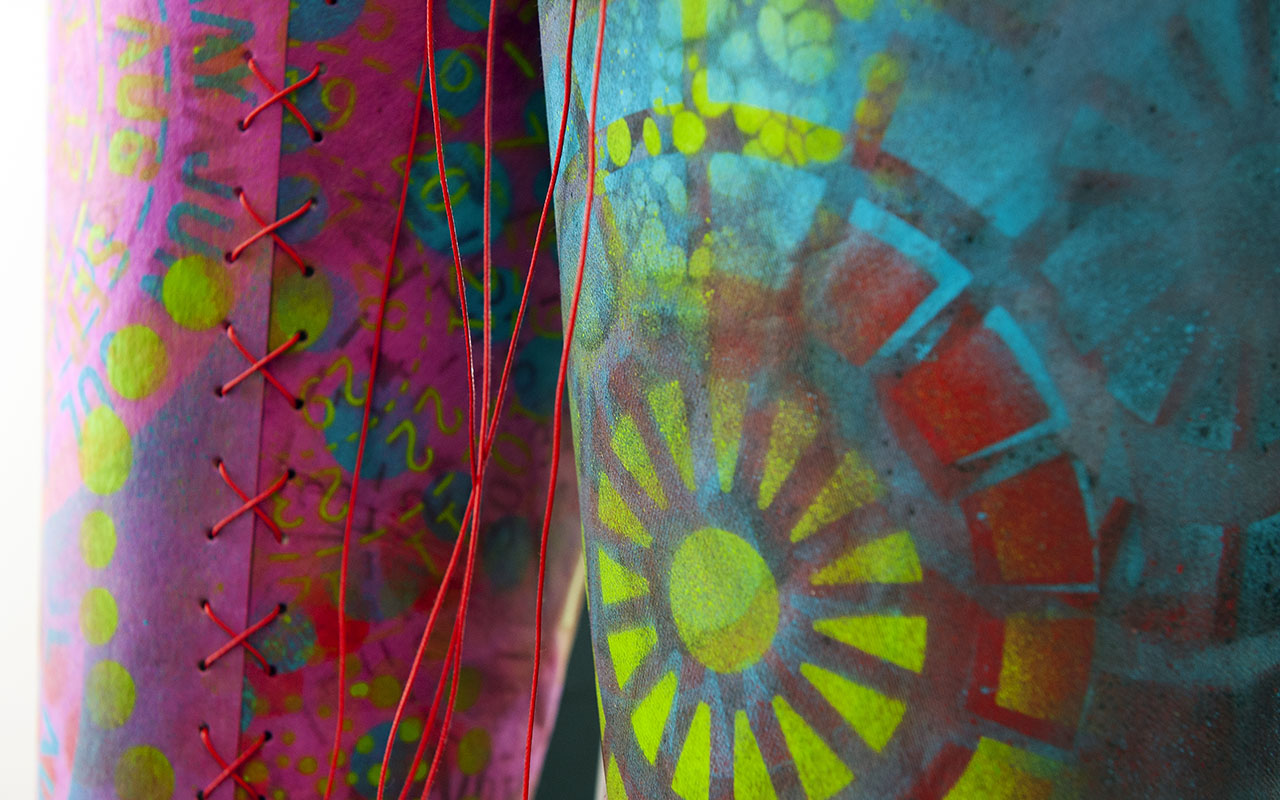
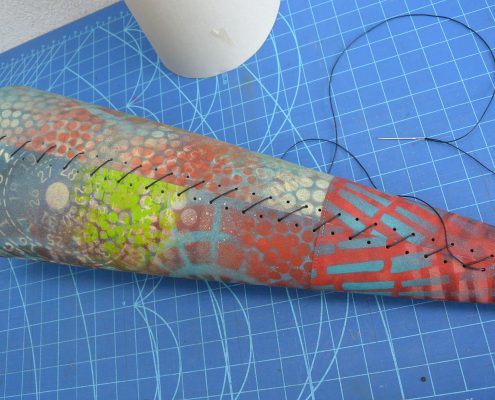
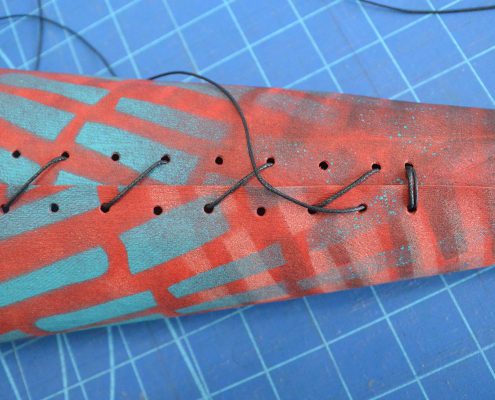
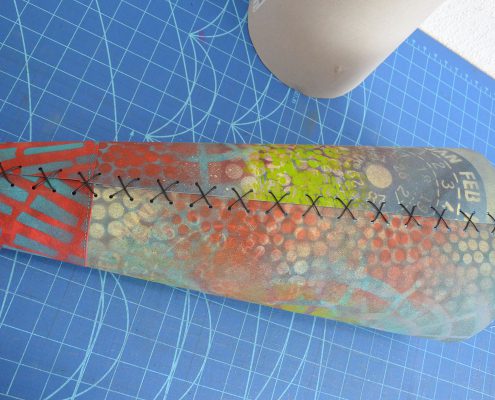
The cardboard blank is removed, then the holes are joined together with the simple witch stitch.
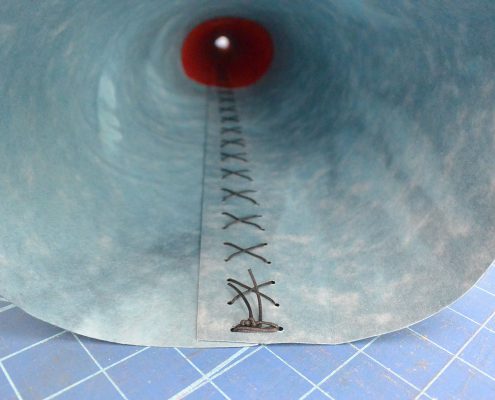
The lower two opposite perforations are fixed twice with a straight stitch.
As soon as the second crossover is sewn, the upper opposite holes are also reinforced with a double straight stitch, the remaining thread is pulled inwards and firmly knotted with the first end of the thread.
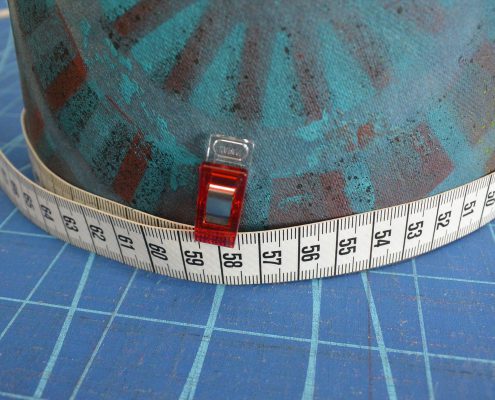
If the upper cover of the school cone is to be made of fabric, the upper circumference of the cone is measured.
It’s the rule here: Circumference + 1.5 cm seam allowance. With a circumference of 58 cm, the fabric is cut to 59.5 cm x 30 cm.
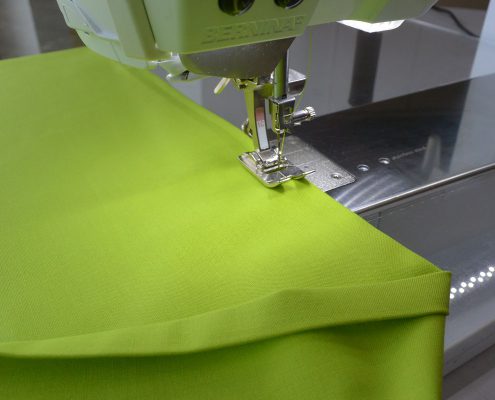
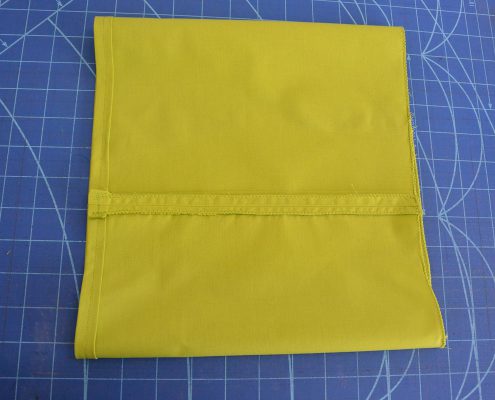
Hem the fabric rectangle once with a zigzag stitch. The upper edge, which is later combined with tape, is now folded over twice, ironed and sewn. The seam allowances are ironed apart.
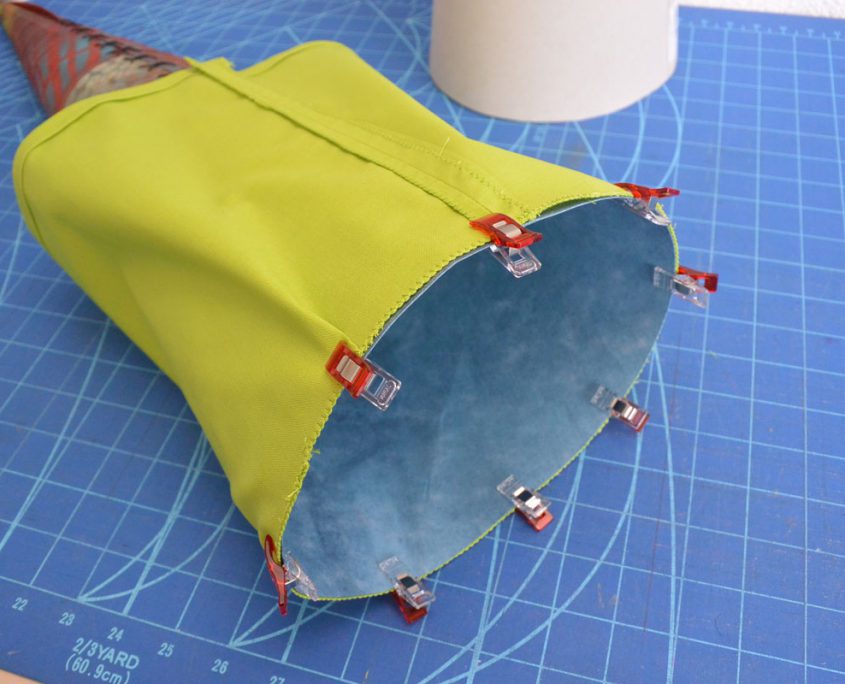
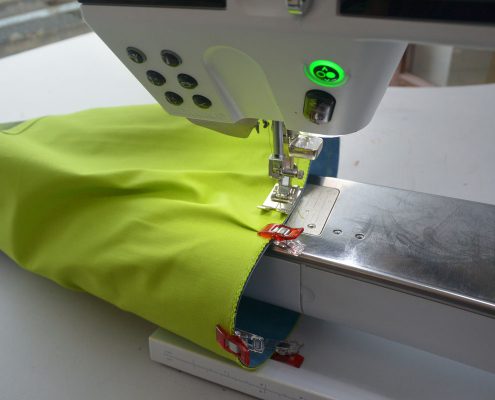
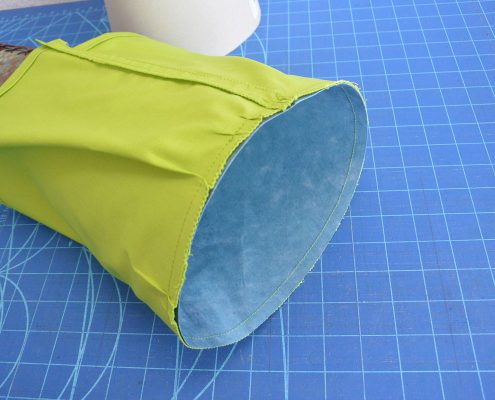
The fabric border is pulled right sides together on the outer cone cover, fixed with wonder clips and sewn all around with a seam allowance of 1 cm.
Then the cardboard blank is inserted and the fabric cover is pulled over the opening on the right. After filling the cone, the upper fabric closure is closed with a matching cotton cord.
Of course, as is often the case, the end cap can also be made of crepe paper. However, it is then also not so stable and resistant. The quality of the fabric also matches the leather look of Kulörtexx better. You can find almost all things in every craft shop off- and online. Kulörtexx is available directly here.

